
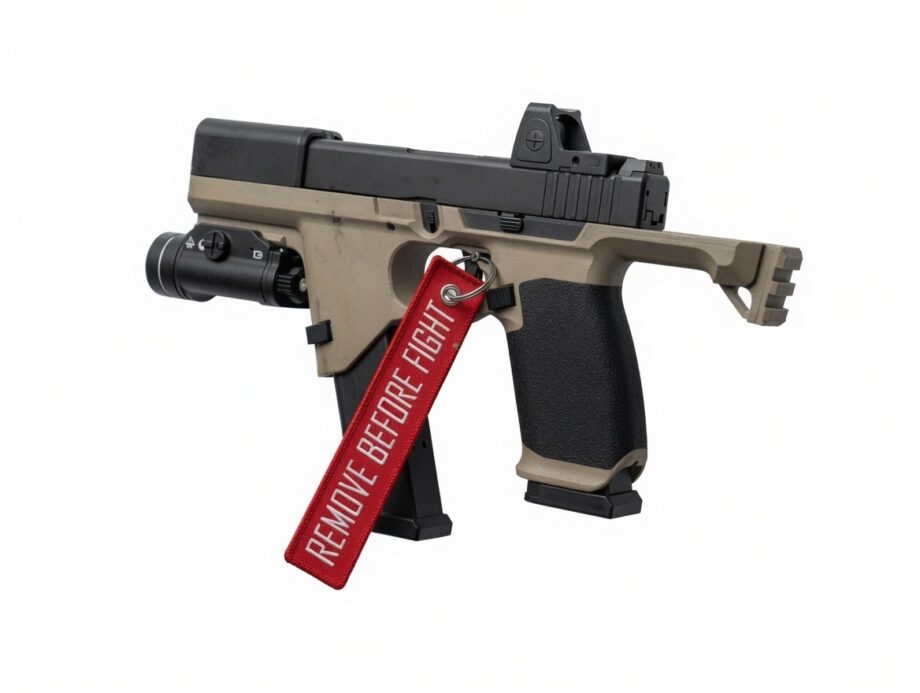
PDW platforms enhance pistol handling with superior stability, ergonomics, and accessory integration, effectively bridging the gap between handgun and carbine for better control and confidence under load.
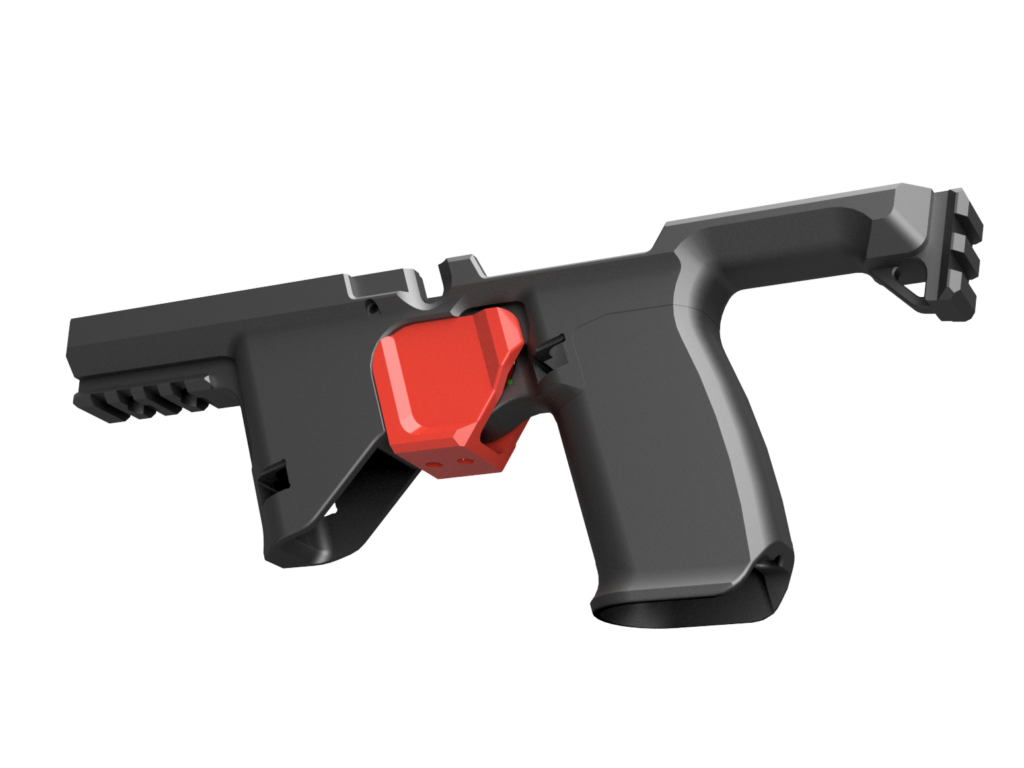
The Palisade 3DP makes this accessible at home. Built around the 120R Receiver Pattern and fully open source, it prints on standard FDM 3D printers, assembles with basic hand tools, uses commonly available off-the-shelf parts, and is compatible with a wide range of aftermarket parts and accessories.
Open source. Full STEP CAD files included for customization.
COMPATIBILITY
- FCU:
- Caliber/Slide: Compact gen3 slides
- 9mm (G19.3)
- .40 Cal (G23.3)
- .357 Sig (G32.3)
- 19.3 conversion kits
- Magazines: Full size or larger
- 9mm (G17)
- .40 Cal (G22)
- .357 Sig (G31)
- Magazine Catches: Gen4 (reversible)
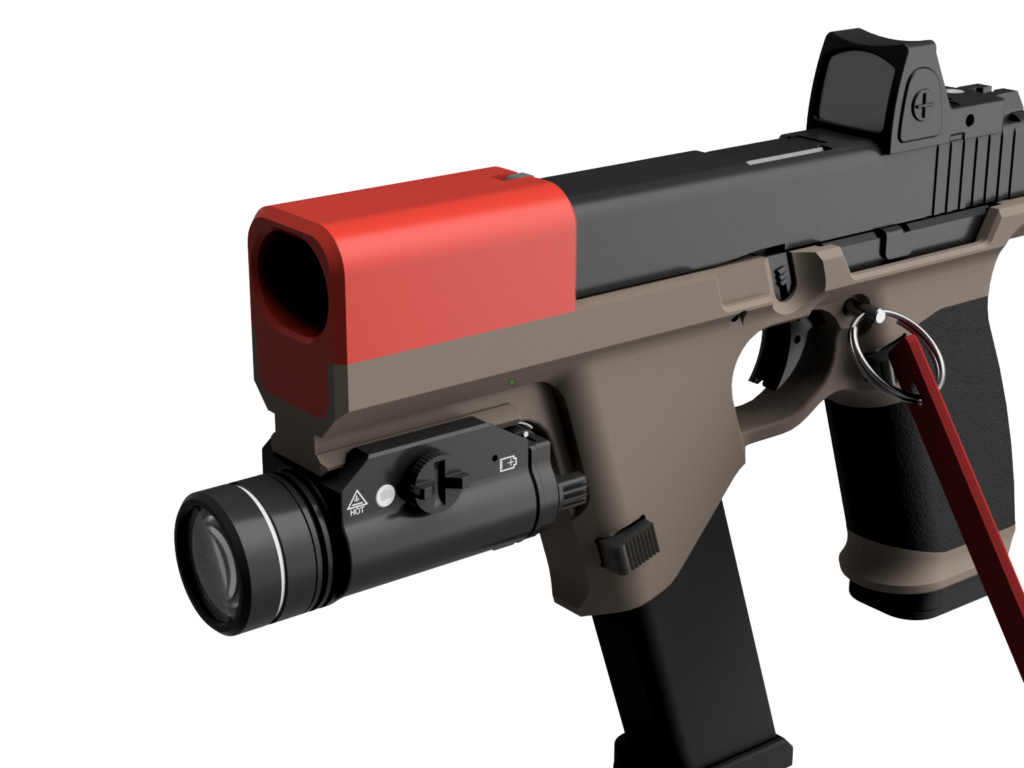
- Muzzle Devices: Up to 1.5″ diameter (recommended for safety)
OPTIONS
Four rear-end options, each with integrated Picatinny rail:
- Ambi anti-rotate QD sockets
- Ambi free-rotate QD sockets
- Basic pic rail
- Lanyard loop
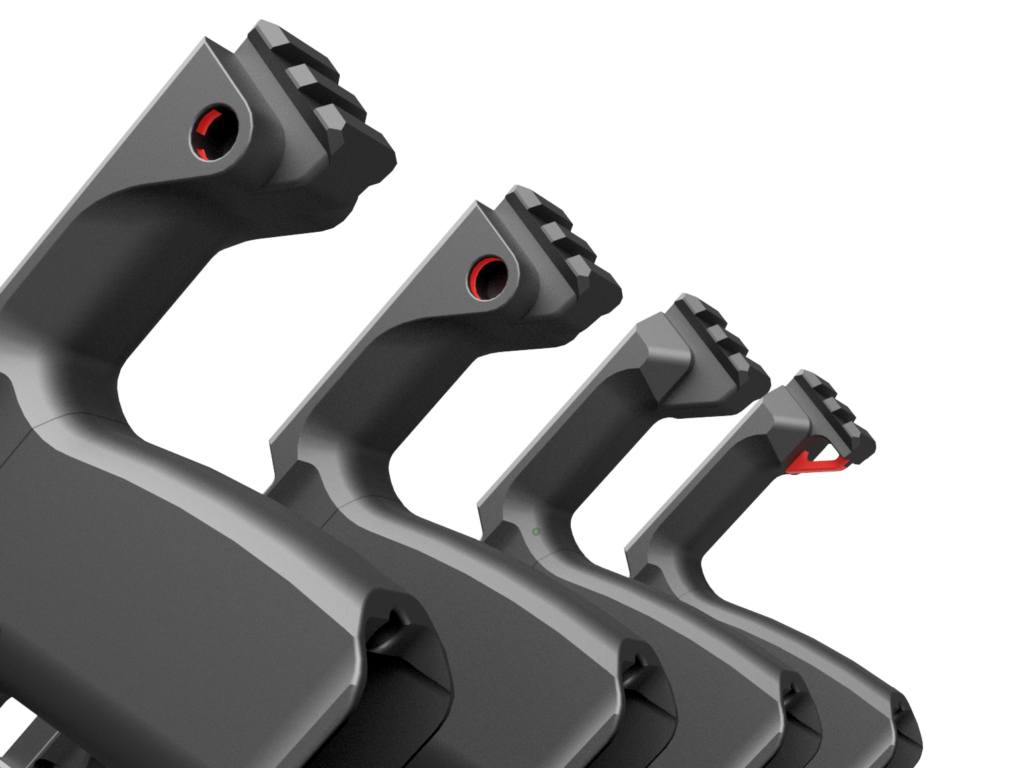
Each available with or without pull-pin storage safety
Optional 3DP Trigger Guard Cover
Optional Blast Shield Available for Purchase
CAD File for Reference Only
The 3D printed blast shield is not intended for live fire.
For safe use, purchase the aluminum blast shield here or install your own threaded muzzle device.
HARDWARE
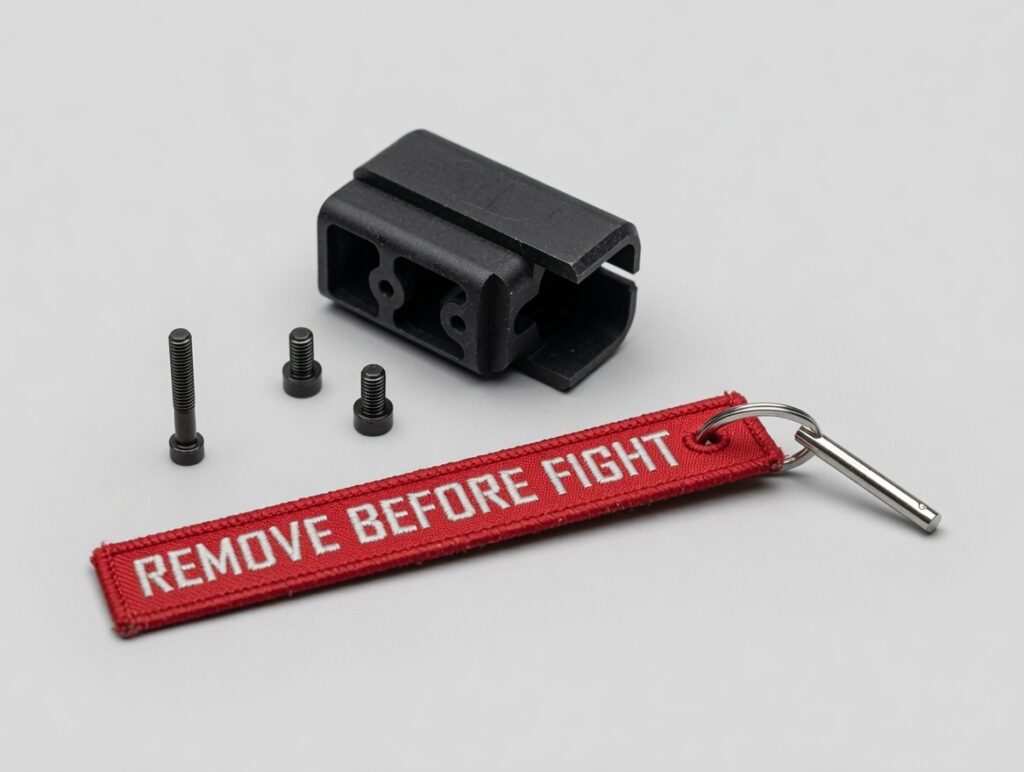
Or Source Your Own
| Supplier | Part Number | Description | Use | QTY/PDW |
|---|---|---|---|---|
| McMaster | 91290A180 | Black-Oxide Alloy Steel Socket Head ScrewM4 x 0.7 mm Thread Size, 30 mm Long, Partially Threaded | Secures receiver into PDW chassis | 1 |
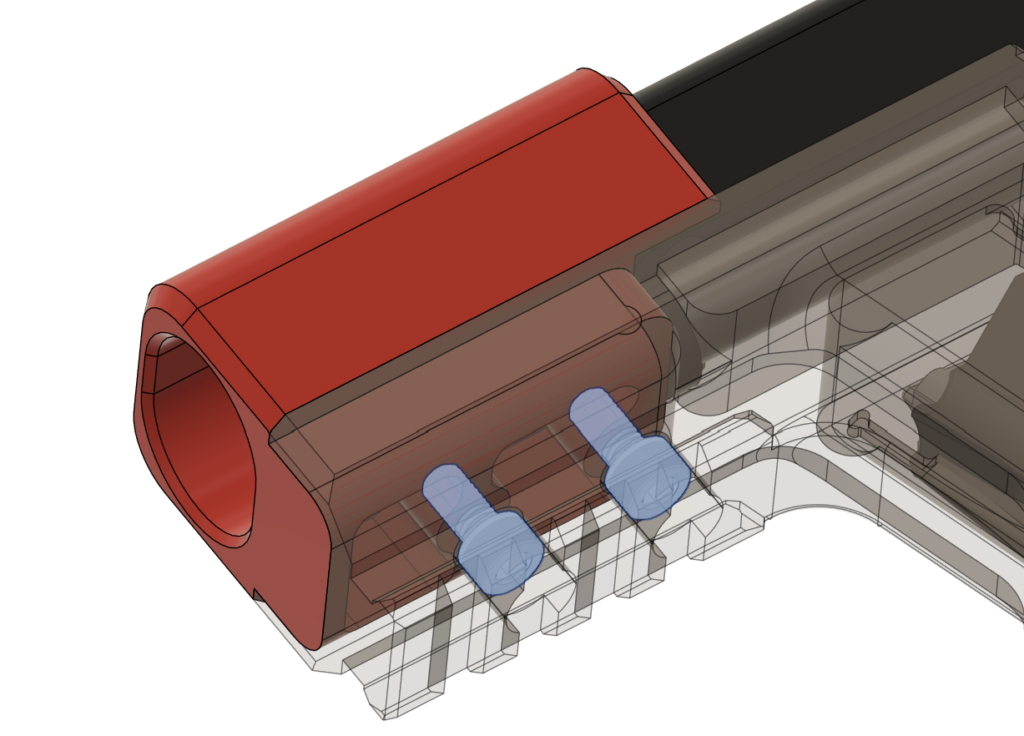
| McMaster | 91290A224 | Black-Oxide Alloy Steel Socket Head ScrewM5 x 0.8 mm Thread Size, 10 mm Long | Secures blast shield to chassis | 2 |
| McMaster | 98404A103 | 18-8 Stainless Steel Ring-Grip Quick-Release Pin5/32″ Diameter, 1″ Usable Length | Optional storage safety pin | 1 |
BUILD INSTRUCTIONS
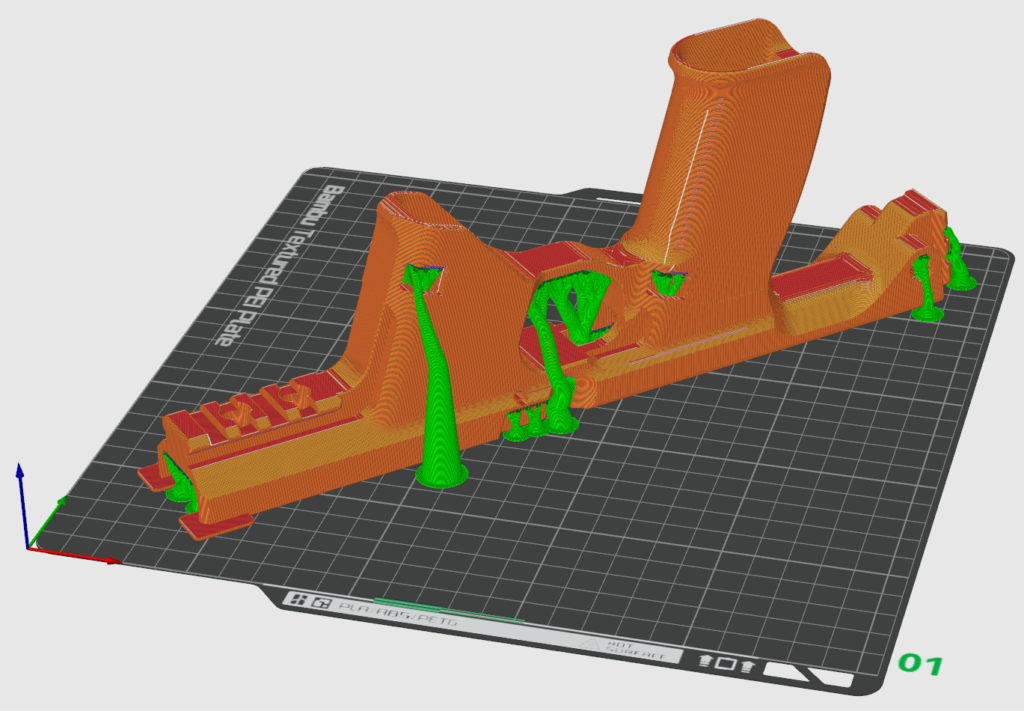
- Download and unzip the files.
- Import the models into your slicer.
- Select your desired PDW and delete the other parts.
- Orient the chassis upside down (top surface flat on the build plate).
- Rotate/angle as needed to fit your build volume.
- Enable supports (tree type recommended).
- Print at 100% infill using PLA+ or tougher material.
POST PRINT ASSEMBLY
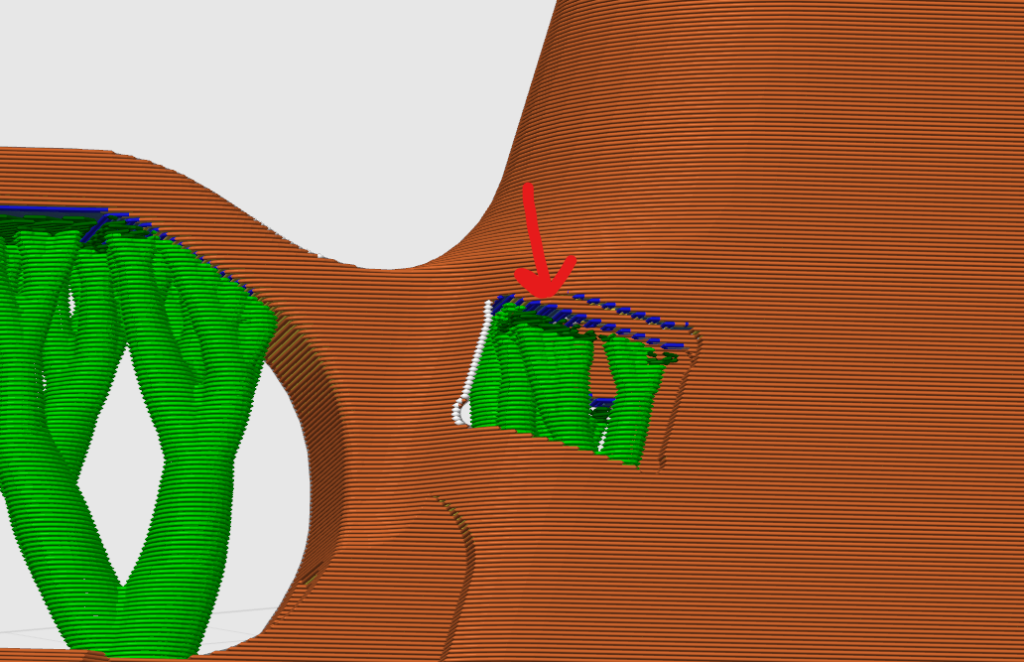
- Remove supports and clean up any printing artifacts. Pay special attention to the built-in front tabs (red). These are temporary printing aids designed to prevent lifting/curling and should be fully removed after printing. Use a razor blade to carefully trim them away.


- Chase the front mounting hole with a .120” (#31) drill. If you don’t, the frame may split when installing the mounting pin.
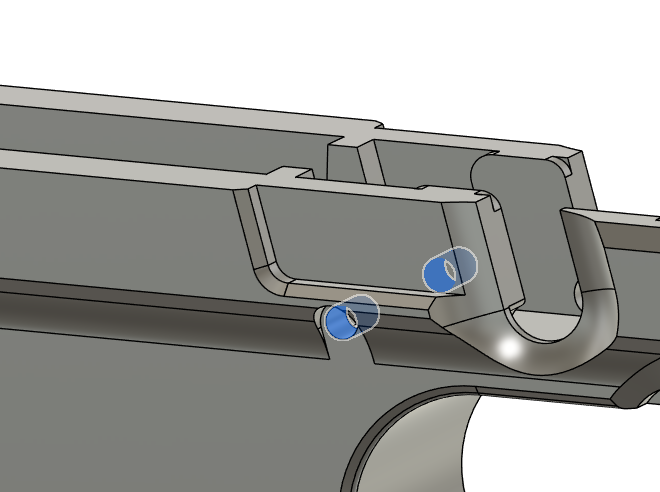
- Hand fit the magazine catch cavities. Use a small file and focus on the “drooping” (blue) material. You want a free fit. Some light filing may be required on other surfaces.
- Install the 120R receiver assembly.
- Insert the front 3mm pin.
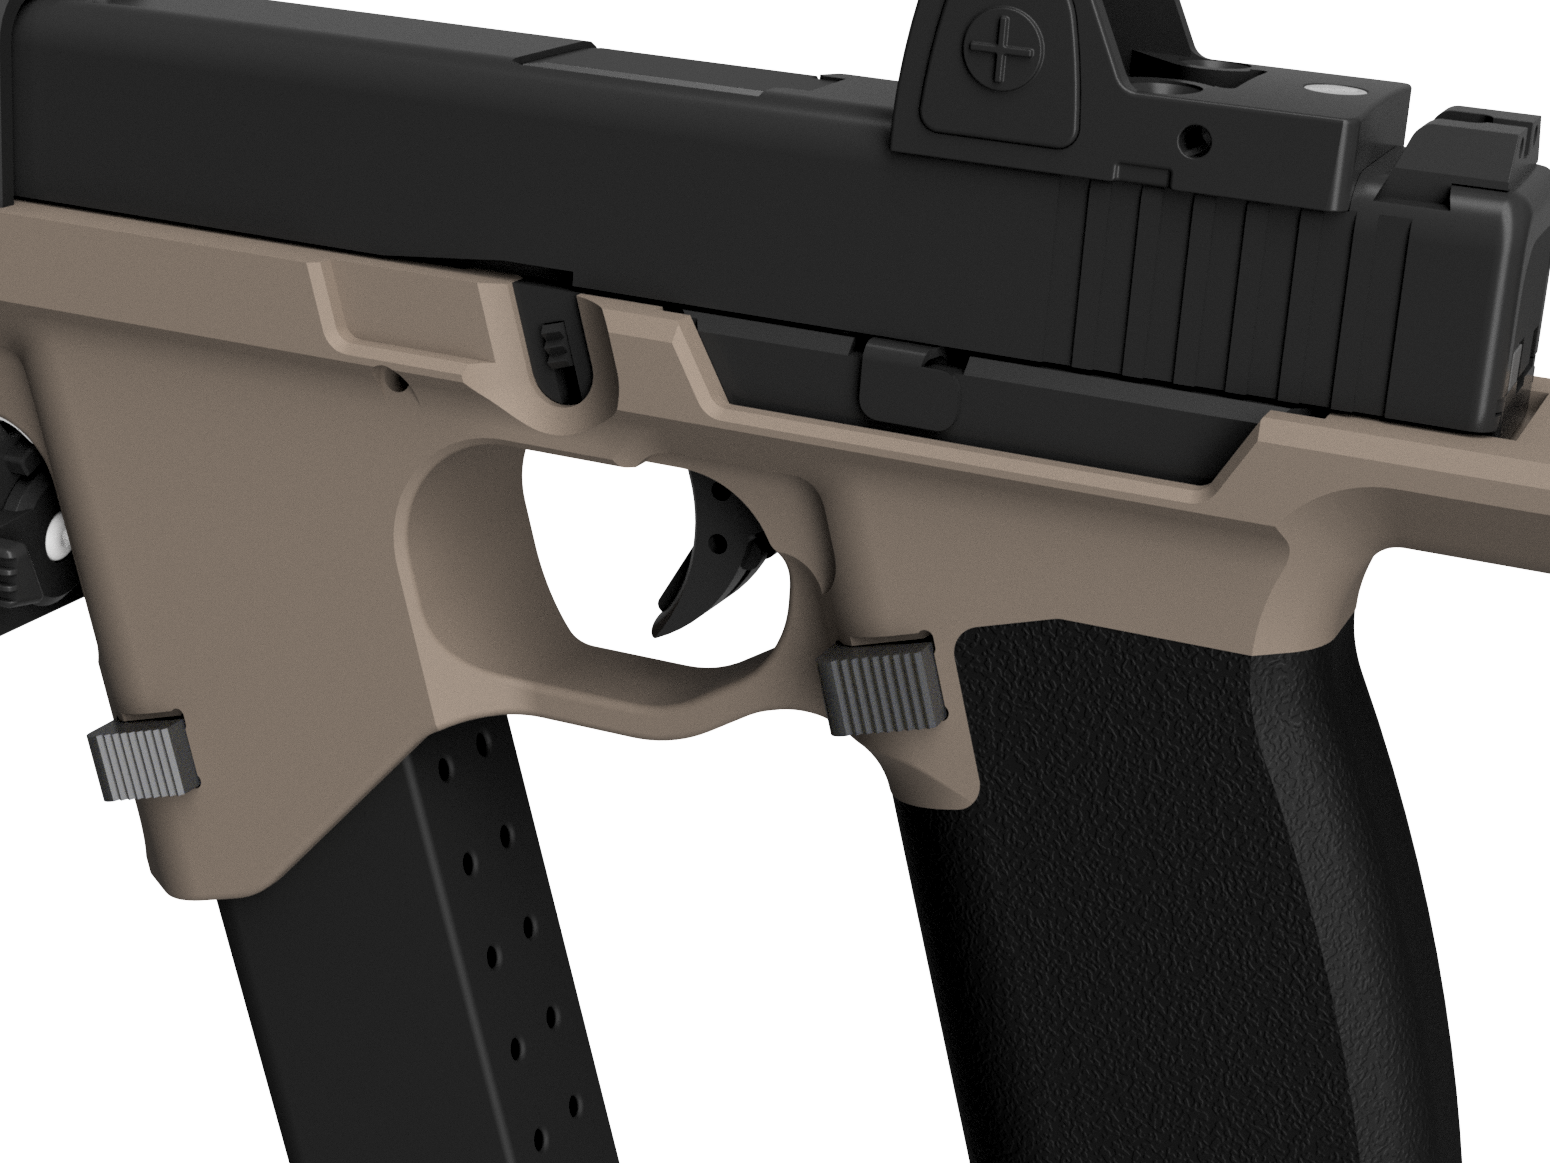
- Secure the rear with an M4x0.7 × 30mm socket head screw (bottom of grip into receiver). Snug only – do not overtighten.
- Please note that the rear 3mm pin normally used for mounting the receiver is not used in this assembly

- Install your slide assembly.
- If using the purchased blast shield, install with two M5x0.8 × 10mm socket head screws. Otherwise, install an appropriate muzzle device.
- 3D printed blast shields are not intended for live fire.
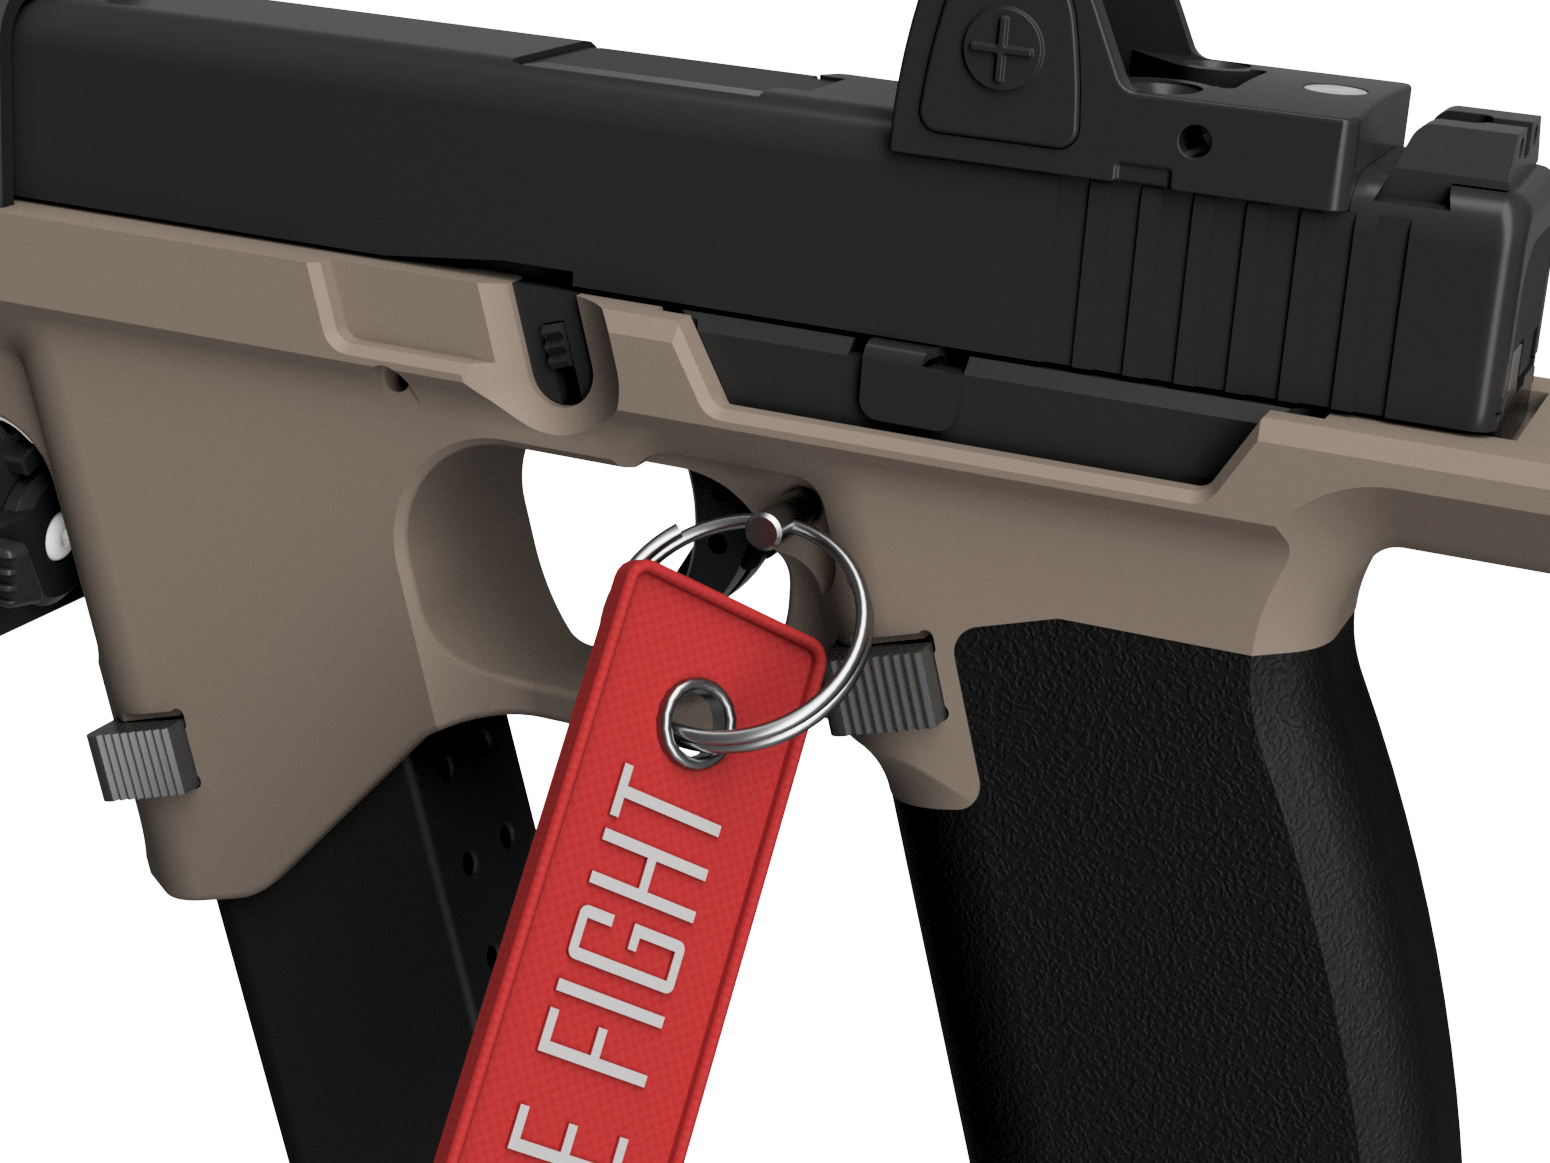
- Pull-Pin Safety (if equipped)
- Rack the slide on an empty firearm to reset the trigger.
- Insert the pull pin in the hole behind the trigger (from either side). This blocks its rotation.
- To load: With pull pin installed, insert loaded magazine, then rack to chamber a round.
- To fire: Remove pin and pull trigger.
Note: The pull pin is a safety device for transport and storage only. It helps prevent accidental discharge from stray objects or fingers. It is not foolproof. Always use proper firearm safety practices. Install only on an empty chamber.